If you’ve decided to install a new carpet in your home, it’s important to ensure that it stays securely in place for years to come. One essential element for a successful carpet installation is fitting carpet gripper strips correctly. These strips, also known as tack strips, are the hidden heroes that keep your carpet firmly in place. In this guide, I will walk you through the process of fitting carpet gripper like a pro. With 10 years of experience in the carpet cleaning and repair industry, I’m here to share my knowledge and expertise to help you achieve a job well done.
What is a Carpet Gripper?
Carpet gripper, also known as tack strip, is a vital component of any carpet installation. It is a thin strip of wood or plastic with hundreds of sharp nails pointing upwards. These nails grip the carpet backing, preventing it from shifting or sliding. Properly installed gripper strips ensure your carpet remains taut and wrinkle-free.
How to Fit Carpet Gripper
Tools and Materials You’ll Need
Before we delve into the installation process, let’s gather the necessary tools and materials:
- Carpet gripper strips
- Hammer
- Nails
- Measuring tape
- Pencil or marker
- Safety goggles and gloves
- Saw or tin snips (for cutting gripper strips if needed)
- Carpenter’s level
- Dustpan and brush
- Knee kicker (optional, for stretching carpet)
Step 1: Measure and Plan
Start by measuring the perimeter of the room where you plan to install the carpet. It’s crucial to have an accurate measurement to ensure you purchase the right amount of carpet gripper strips. Typically, you’ll need one strip for each straight wall, but make sure to account for any curved or irregularly shaped walls as well.
Step 2: Cutting Gripper Strips
If the room has curved or irregularly shaped walls, you may need to cut the carpet gripper strips to fit the contours. Use a saw or tin snips to make the necessary cuts. Remember to wear safety goggles and gloves to protect yourself from any sharp edges.
Step 3: Safety First
Safety is of utmost importance. Ensure you wear safety goggles and gloves throughout the installation process to protect your eyes and hands from potential injuries.
Step 4: Position the Gripper Strips
Place the gripper strips around the perimeter of the room, leaving a gap of about 1/4 inch between the wall and the strip. This gap allows for some space when tucking the carpet, preventing it from bunching up against the wall. Make sure the sharp nails on the strips face the wall and the carpeted area.
Step 5: Check for Level
Use a carpenter’s level to ensure that the gripper strips are level and not tilted. Level strips are crucial for a smooth and even carpet installation.
Step 6: Secure the Strips
Secure the gripper strips in place by nailing them down. Place nails about every 2 inches, ensuring that the strip is firmly anchored to the subfloor. The sharp nails should penetrate the subfloor but not protrude through it.
Step 7: Trim Excess Strips
If you have any excess gripper strips, trim them to fit within the perimeter of the room. You want the strips to be snugly against the walls but not extend beyond them.
Step 8: Cleanup
After all the strips are securely in place, use a dustpan and brush to clean up any wood shavings or debris. A clean working area will make the carpet installation process much smoother.
Step 9: Install the Carpet
With the gripper strips in place, you’re ready to install your carpet. Here’s a simplified version of how to do it:
- Roll out the carpet and align it with the room’s edges.
- Use a knee kicker (if available) to stretch the carpet toward one end of the room.
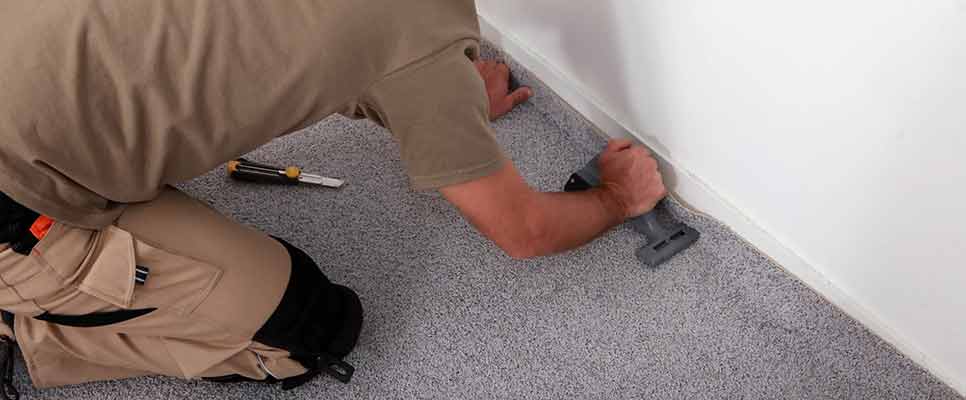
- Tuck the carpet edge into the gap between the gripper strip and the wall using a putty knife or your fingers.
- Work your way around the room, stretching and tucking the carpet until it’s snug against all the gripper strips.
- Trim any excess carpet along the edges, leaving a slight overlap for a clean and neat finish.
Also Read: How to Get Furniture Marks Out of Carpet?
Conclusion
Properly fitting carpet gripper strips is a fundamental step in achieving a professional-quality carpet installation. With the right tools, careful measurements, and attention to detail, you can ensure your carpet remains securely in place for years to come.
Remember to prioritize safety by wearing protective gear, and always double-check your measurements to avoid running out of gripper strips. If you’re unsure about any step in the process, it’s best to consult with a professional carpet installer.
By following these simple steps, you’ll be well on your way to a beautifully installed carpet that stays firmly in place, enhancing the comfort and aesthetics of your home.
Cite your sources and link to instructional videos or diagrams if available, and you’ll have a comprehensive guide to fitting carpet gripper that anyone can follow with ease.
Published on: October 30, 2023
Last updated on: November 2, 2023